I. – Getting Started
II. – Tier One Plans
III. – Early Warning System
IV. – Moving Between Tiers
VI. - SEL
VII. – 504 Plans
Appendix A. – Guided Plans
Appendix B. – Support Documents
Appendix C. – Video Support
Appendix D. - Frequently Asked Questions
- FAQs
Appendix E. – MTSS Glossary of Terms
Site Navigaton
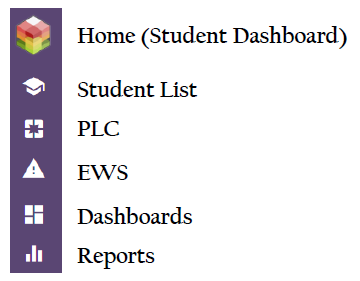
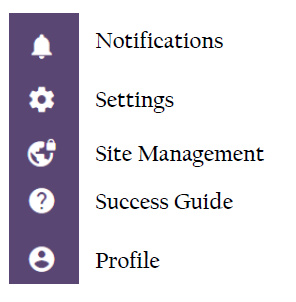
Sidebar Icons

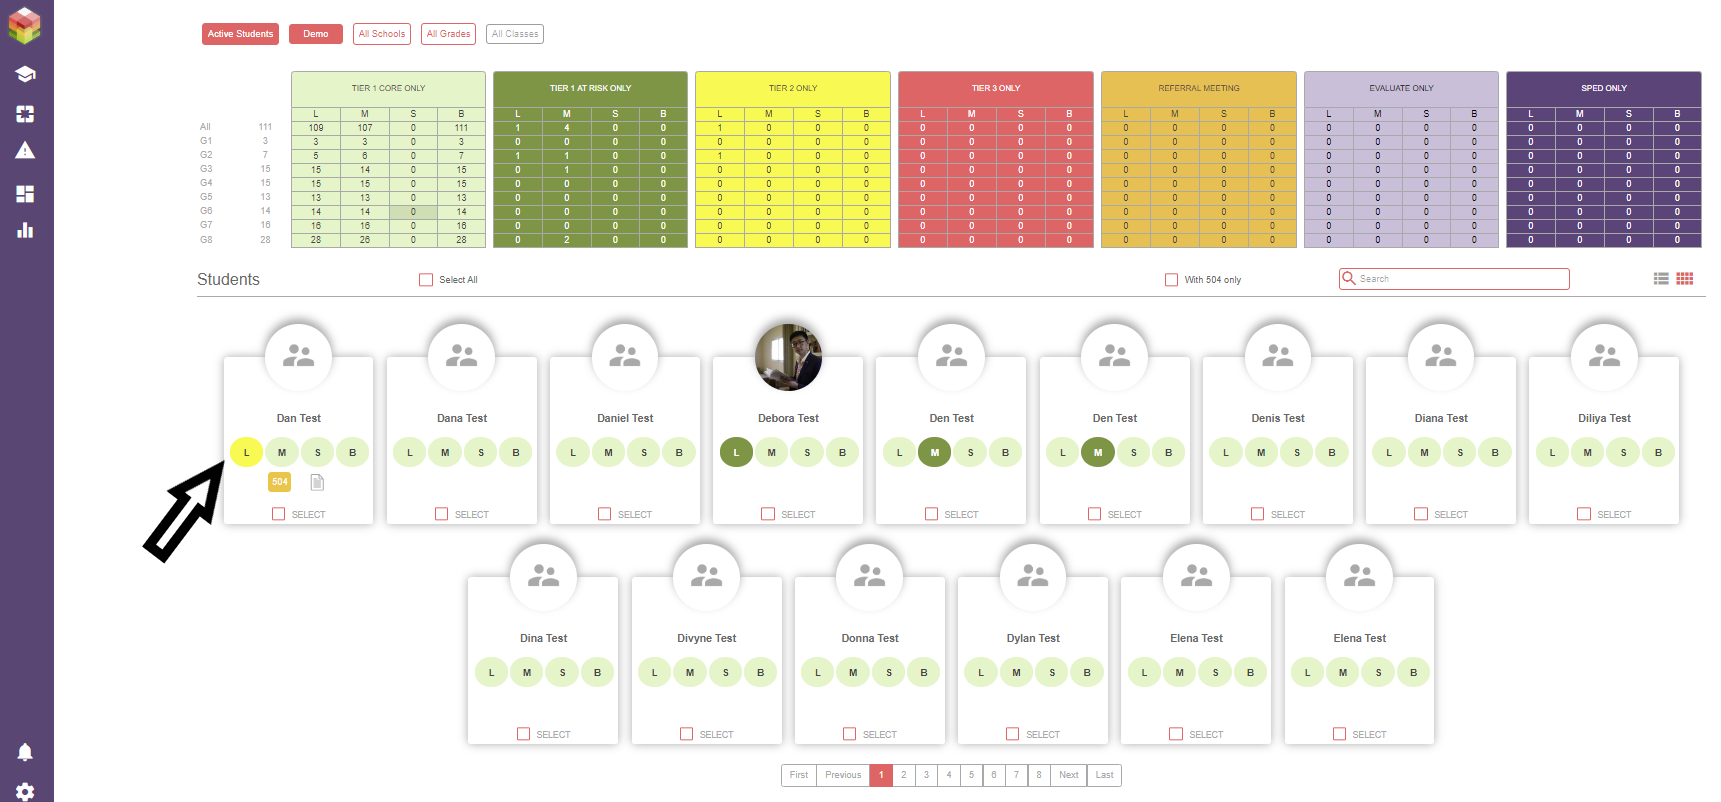
Student List
Access student lists from the second icon on the purple navigation menu. From here you will be prompted to select school type (Elementary/Middle or High School/Early College).
You are able to filter to specific schools and classes from this screen.
Filter Students by School, Grade, Class, & Tier
Use the buttons at the top of the screen to select appropriate school, grade, and class.
To FILTER BY TIER, click directly on the cells in the summary chart.
Selecting the header will filter the student list to only display students identified in that tier.
For example: To see only Tier 2 students, click the header:

Filter further by clicking on an area of concern under the column header.
Selecting a cell beneath the header allows users to see a list of students identified in that tier and area of concern.

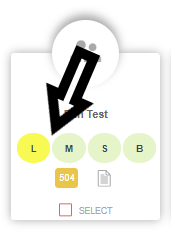
To enter an individual student’s file, click on a specific circle under the student’s name.
PLC

Select the PLC icon to edit and view school and grade level PLC Differentiated Core Plans.
Click on the appropriate school type (Elementary School, Middle School, High School/Early College).
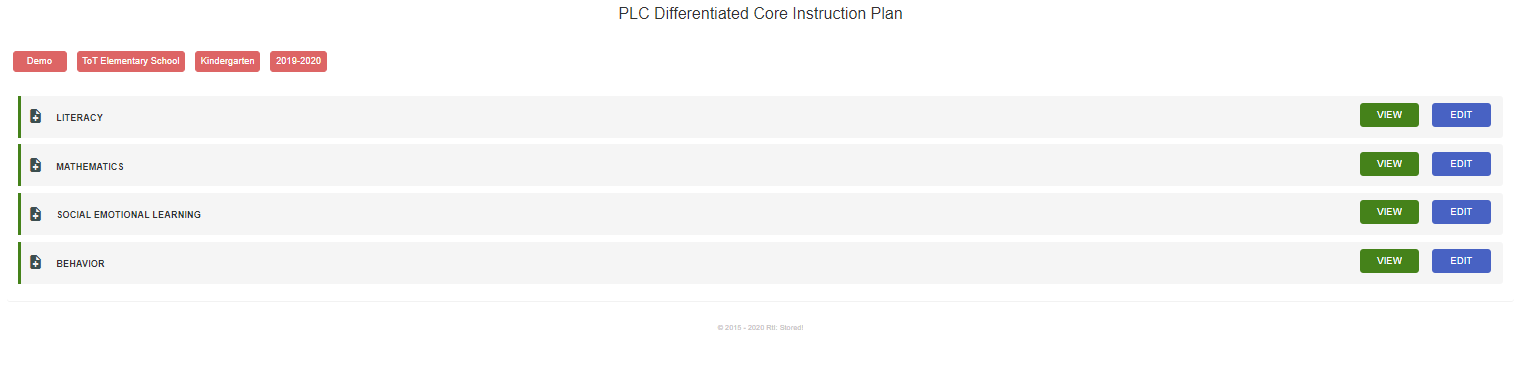
From this screen, you can choose to VIEW or EDIT PLC plans.
Filter to specific school and grade level using the button at the top.
Then, choose the appropriate area of concern (LITERACY, MATHEMATICS, SOCIAL EMOTIONAL, BEHAVIOR).
EWS – Early Warning System
Select the EWS icon on the left navigation bar to enter the EWS Summary.
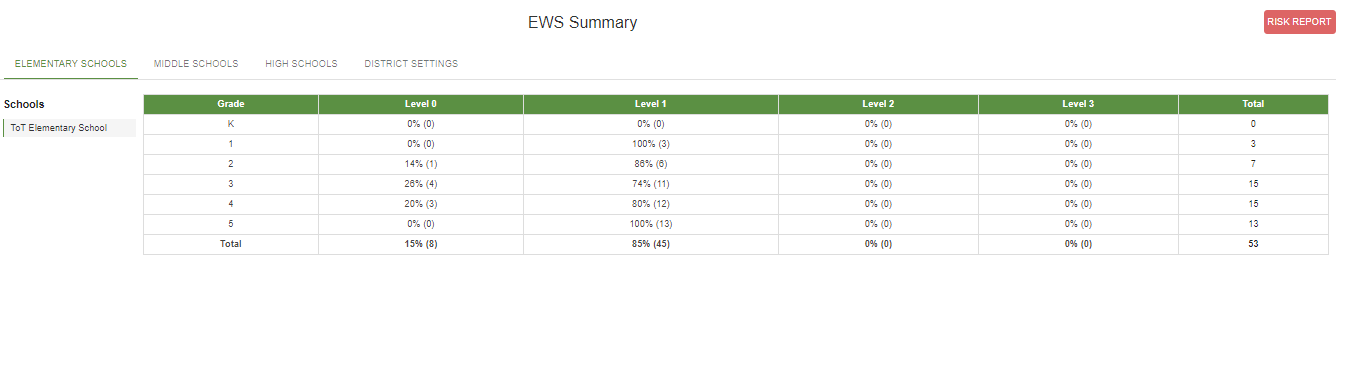
Click on individual cells to filter the data and view data from specific schools and grade levels.
Dashboard
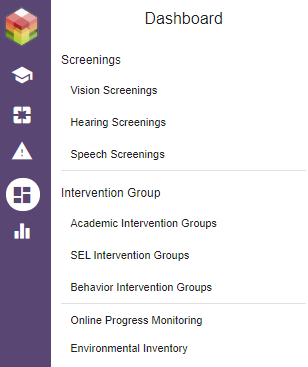
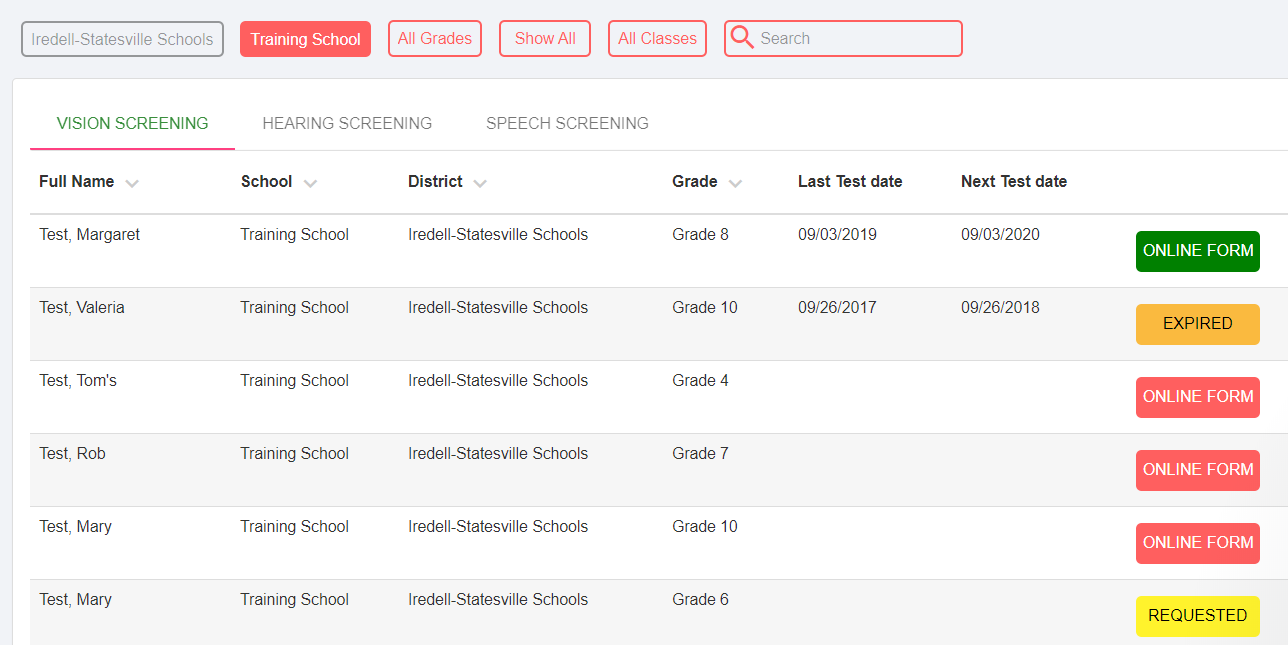
From the User Dashboard, users can request screenings and view progress on screenings.
Screenings:
Click on the white box under a student’s name on the student dashboard.
In the top navigation bar, click the red “Request Documents” button.
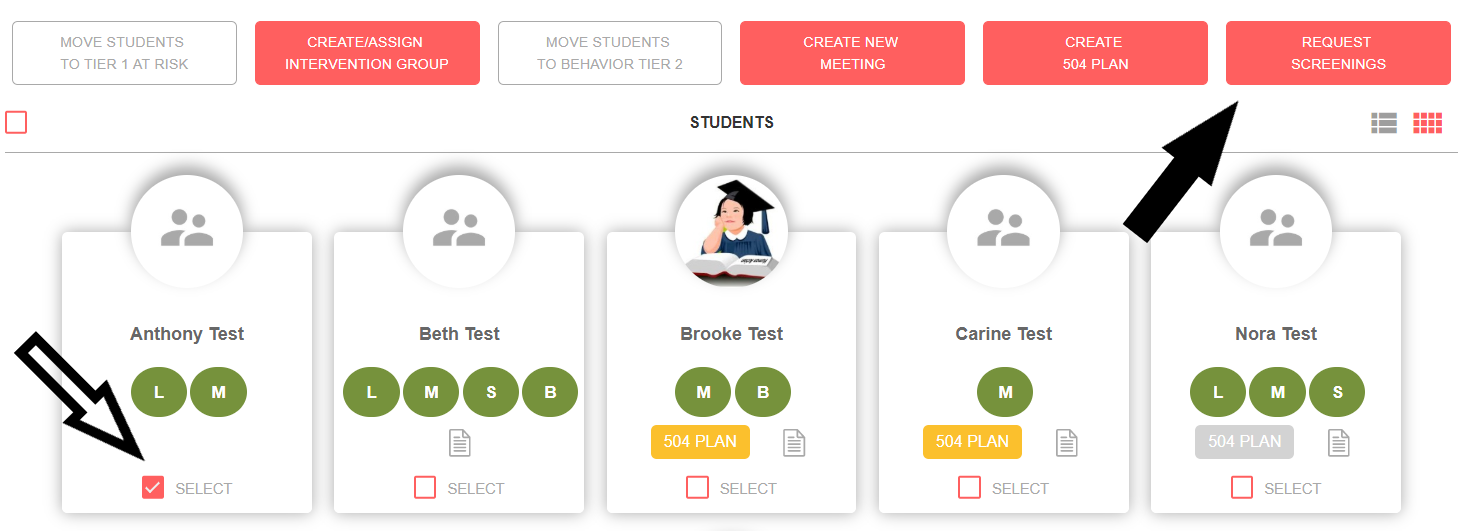
Select the appropriate screening.

Select Next.
Choose the individual(s) you are requesting the document from.
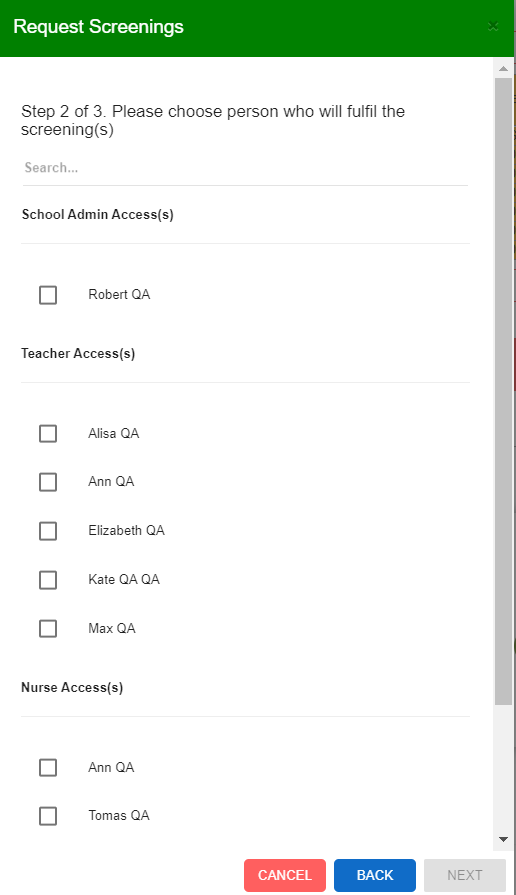
Select Request: ![]()
An email request will be sent to the individual(s) you selected.
‘Requested’ will appear next to the item you requested in the Review Document Checklist:
![]()
Dashboards by User Access
There are specific Dashboards for various users, according to their role and responsibilities.
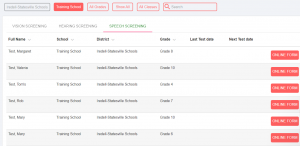
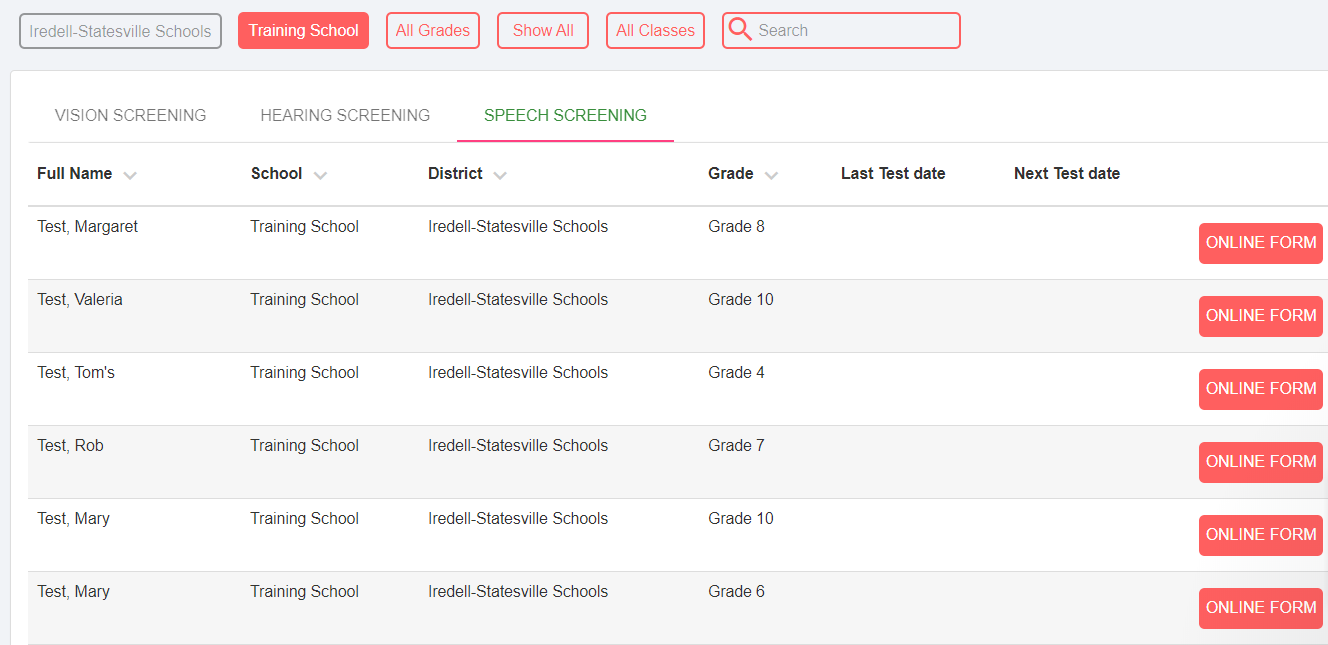
- Nurses

- Speech Pathologists
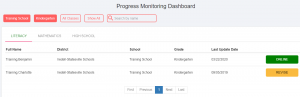
- Teacher – Progress Monitoring
- Teacher/Interventionists – Intervention Groups
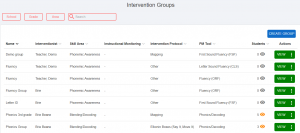


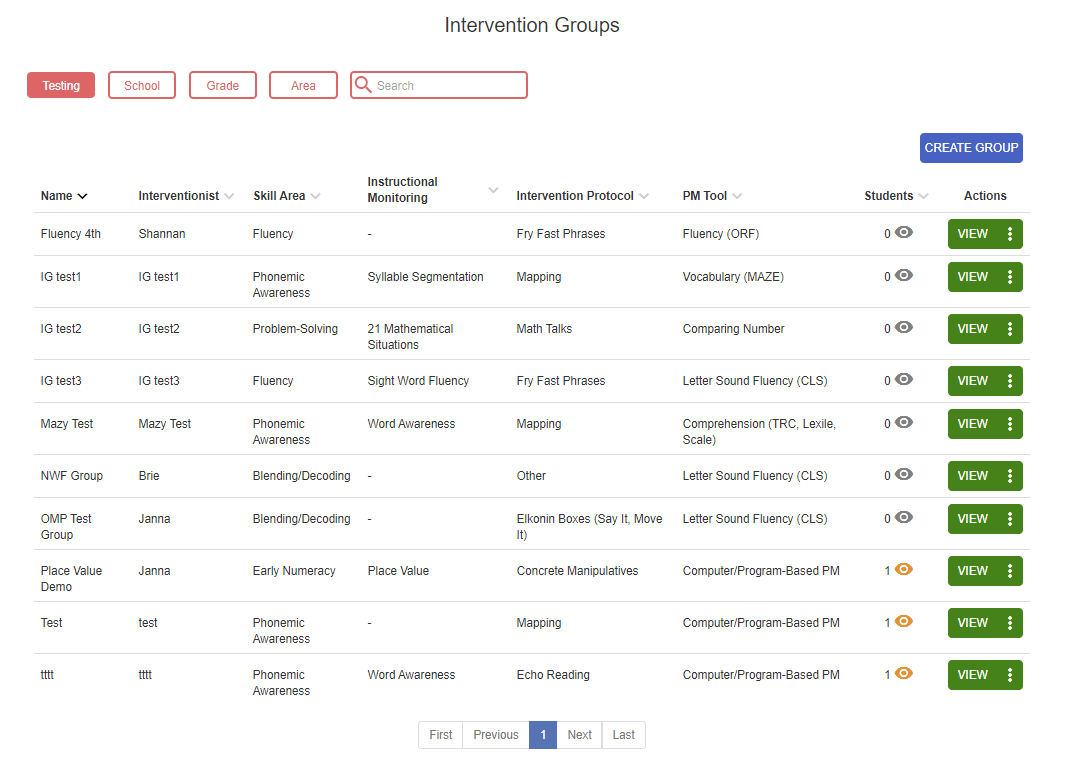
View & Manage Intervention Groups:
From the Dashboard icon, users can access Academic, SEL, and Behavior intervention groups.
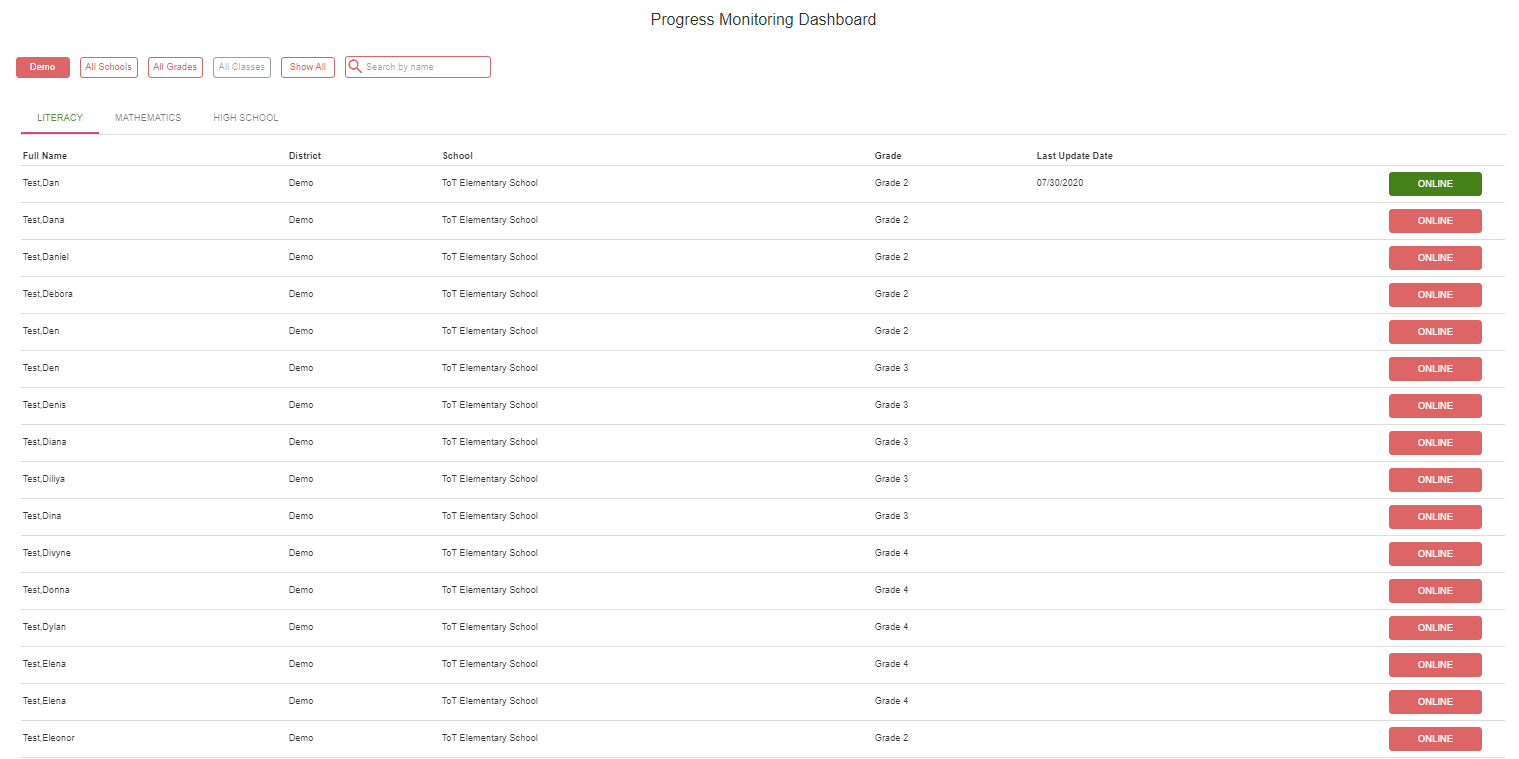
Online Progress Monitoring:
From the online progress monitoring dashbaord, you can view and edit intervention group data, all in one place.
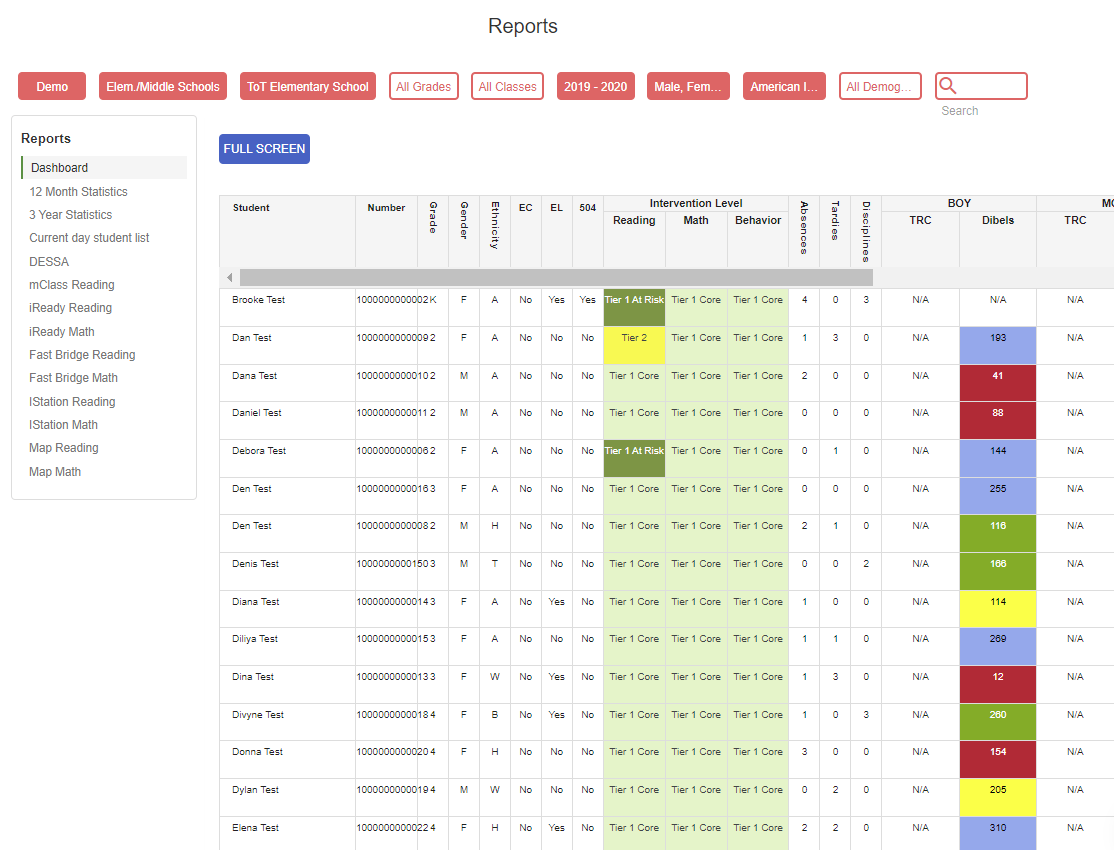
Reports
The Reports icon allows users to filter by school type, school, grade level, class, and student demographic data.
Users can view data from specific reports by selecting reports from the left menu.
Notifications
The Notifications tab helps to manage student files and keep them up to date. A red bell will appear when there are tasks, meetings, or updates that need your attention.
Instantly know what meetings, requested documents, outdated progress monitoring or student learning plans need to be updated, and/or miss documents need to be completed.
Settings
The settings feature provides district moderators and building level access users management options.
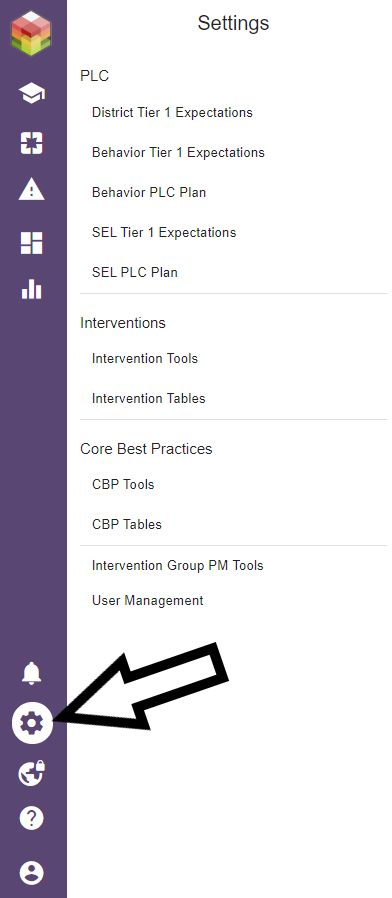
Click the SETTINGS icon, then select from the menu:
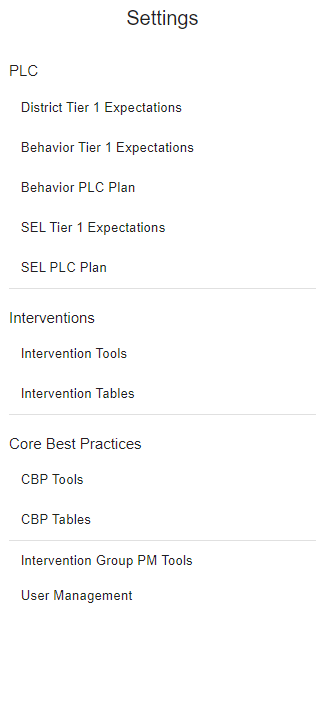
District Tier 1 Expectations
Behavior Tier 1 Expectations
Behavior PLC Plan
SEL Tier 1 Expectations
SEL PLC Plan
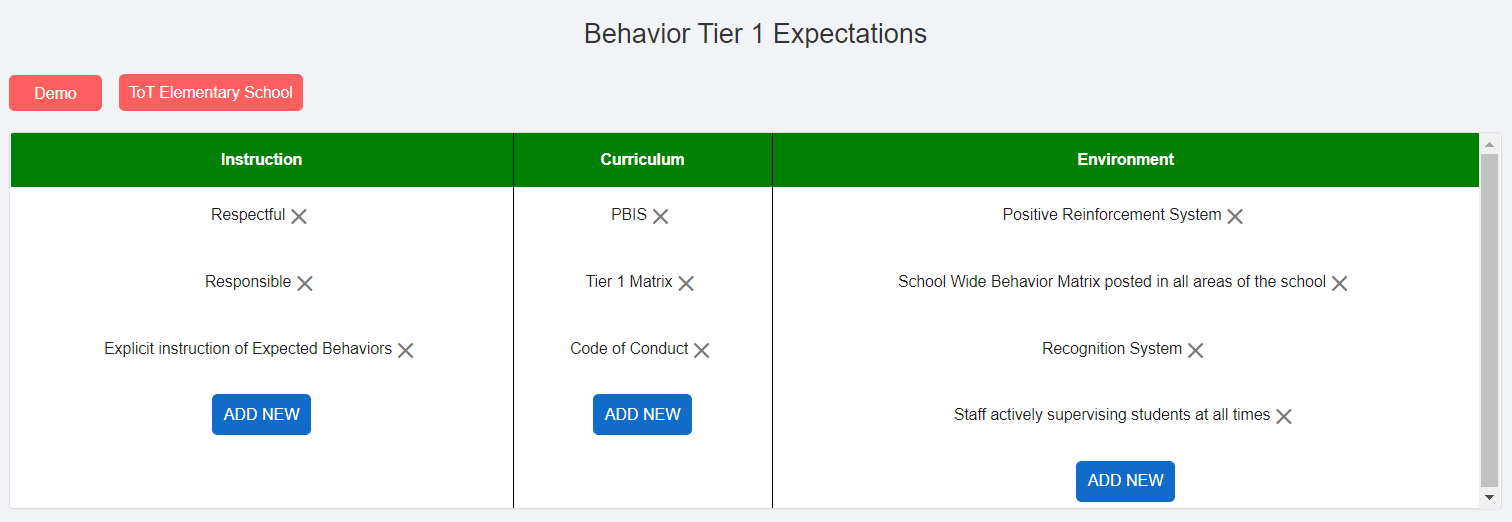
Add district-wide expectations for instruction, curriculum and environment from each of these menus.
After navigating to the appropriate category (Academic, Behavior, SEL) district moderators should select the appropriate district-wide expectations.
Below is an example of the Tier 1 Expectations for Instruction:

And Behavior Tier 1 Expectations:
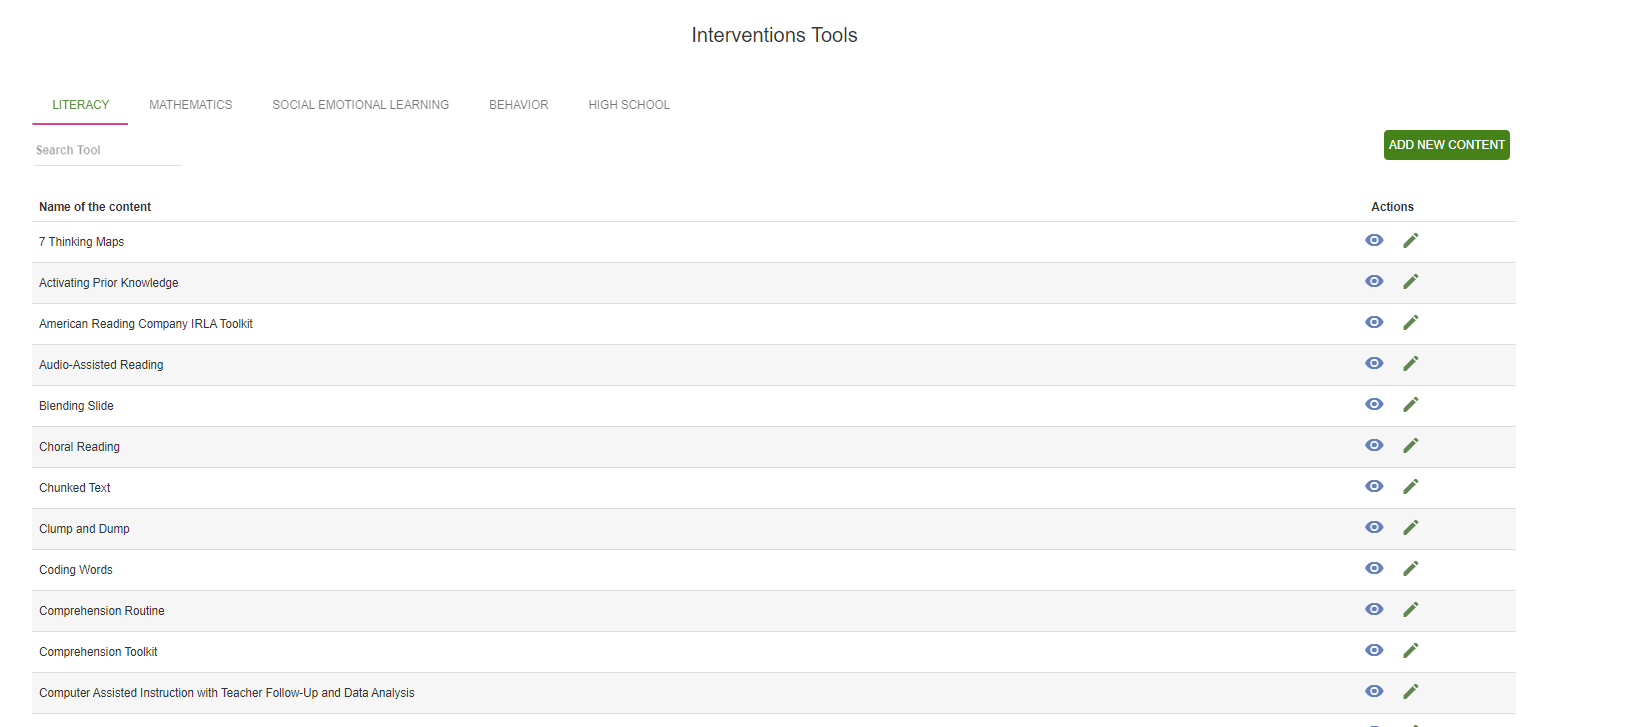
Interventions
Intervention Tools: Select Intervention Tools to add available intervention protocols for the appropriate content areas. Navigate between LITERACY, MATH, SOCIAL EMOTIONAL LEARNING, BEHAVIOR, and HIGH SCHOOL at the top of this page to select appropriate interventions.
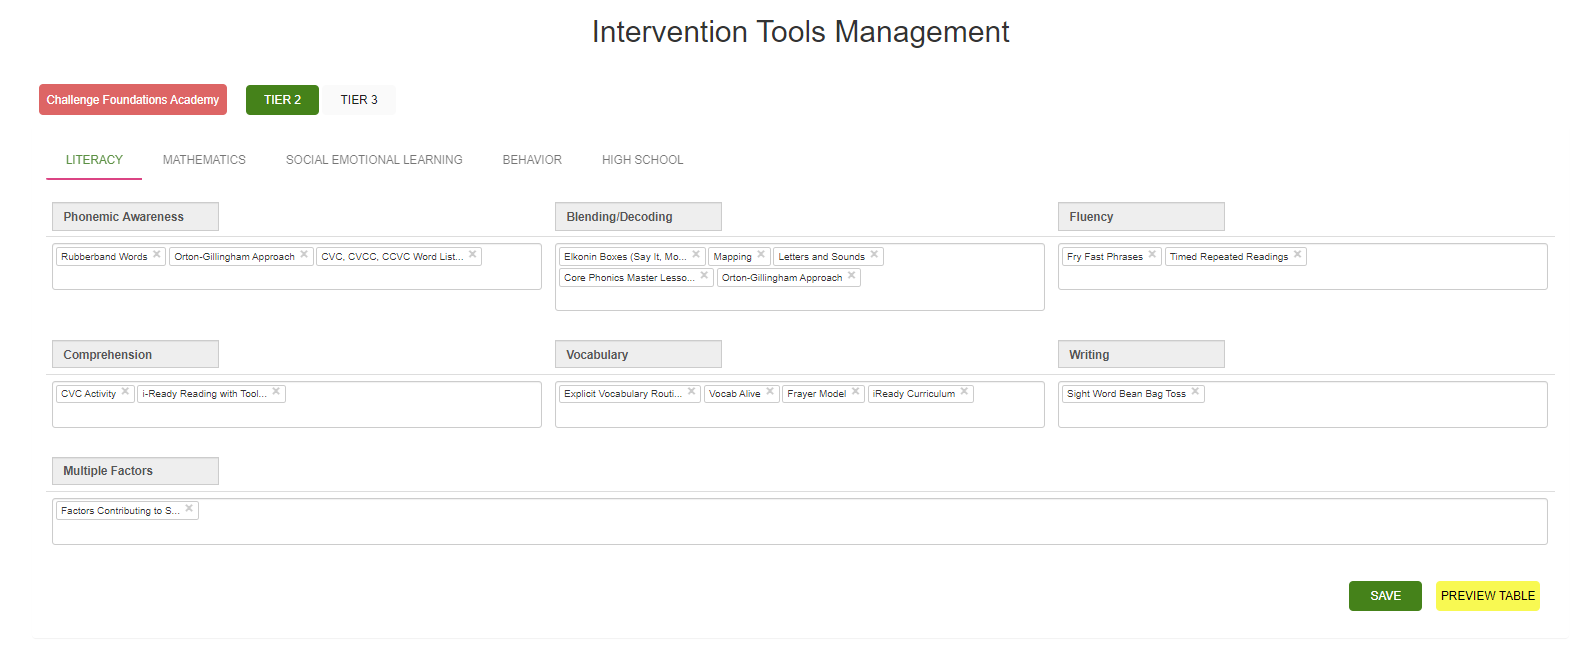
Intervention Tables: Select Intervention Tables to add appropriate intervention protocols to tier 2 and tier 3 expectations in each of the areas listed above.
Core Best Practices
CBP Tools
CBP Tables
Click on CBP Tools and CBP Tables to identify district-wide Tier 1 expectations in for LITERACY, MATHEMATICS, SOCIAL EMOTIONAL LEARNING, BEHAVIOR, and HIGH SCHOOL. Teams will have these options listed when they create Tier 1 Differentiated Core Plans.
Intervention Group PM Tools
User Management
Site Management
The management feature provides district moderators and building level access users management options.
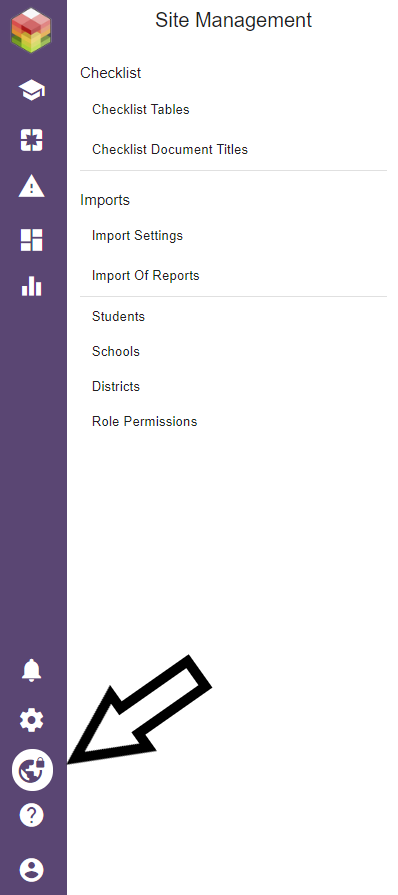
Click the SITE MANAGEMENT icon, then select from the menu:
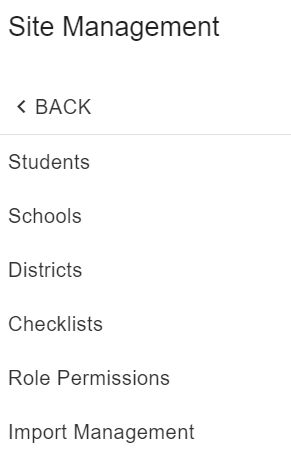
From this screen, you can select which management settings your would like to view/edit:
For District Moderators:
Checklist Tables & Checklist Document Titles
Checklist Tables allows leaders to specify which documents to require before moving students in the platform. This helps to maintain fidelity and appropriate documentation. 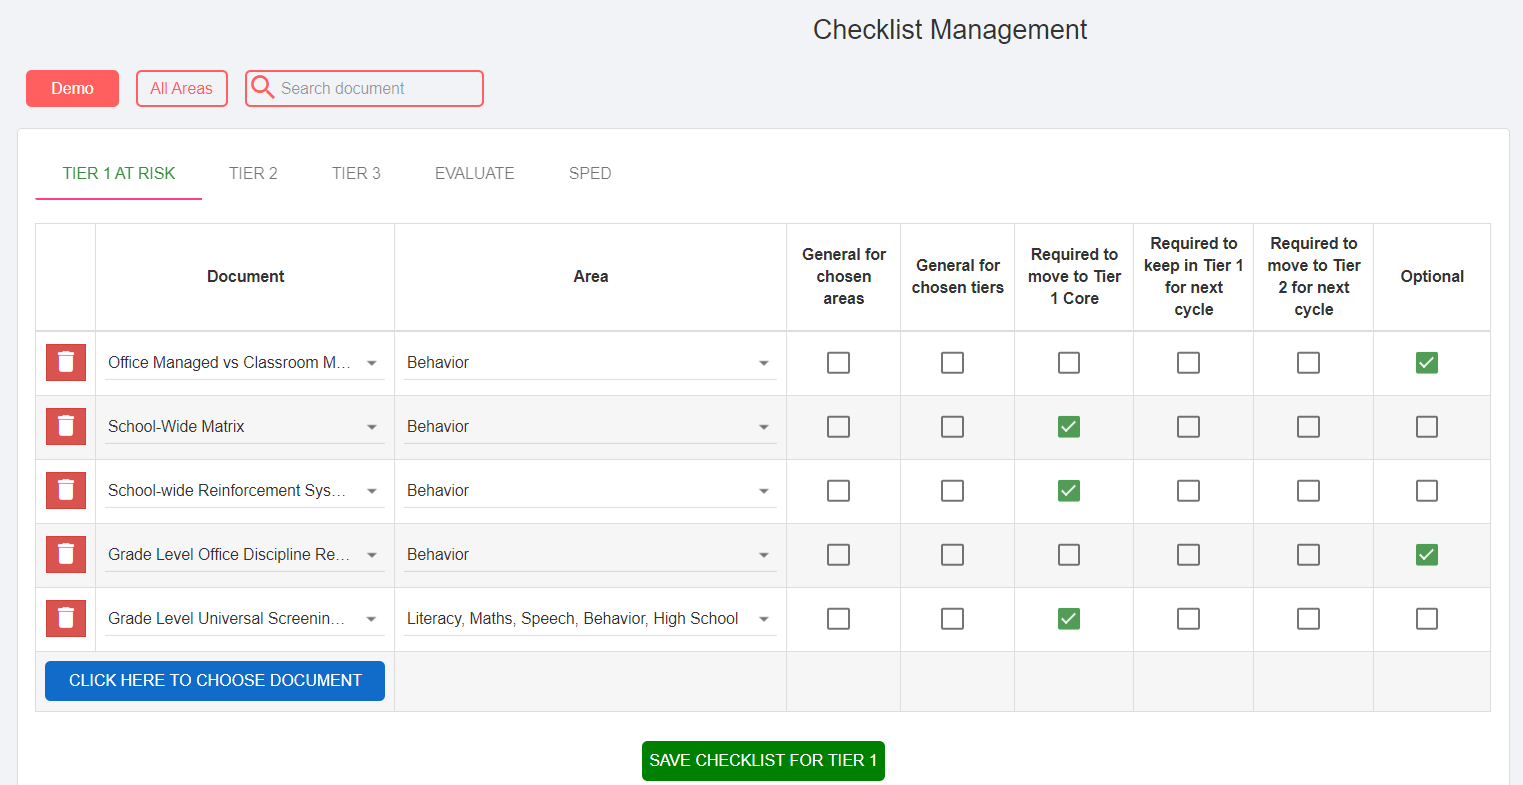
Checklist Document Titles allows district moderators to view and edit all documents and templates available to district users.
Imports
Import of Reports allows users to upload district reports directly from their files.
Students
Schools
Districts
Role Permissions
District moderators can manage district, students, schools, and user access at the bottom of this menu by clicking on the appropriate setting.
Success Guide & Chat Support
Access this Success Guide from the navigation menu from any screen.
The Live Chat feature provides instant support at the click of a button for all technical support needs.
This icon is available from all screens, in the bottom right corner of the screen.
